DIY Garage Door Maintenance: 10 Tasks You Can Do Today
Introduction: 30 Minutes That Can Save You Hundreds
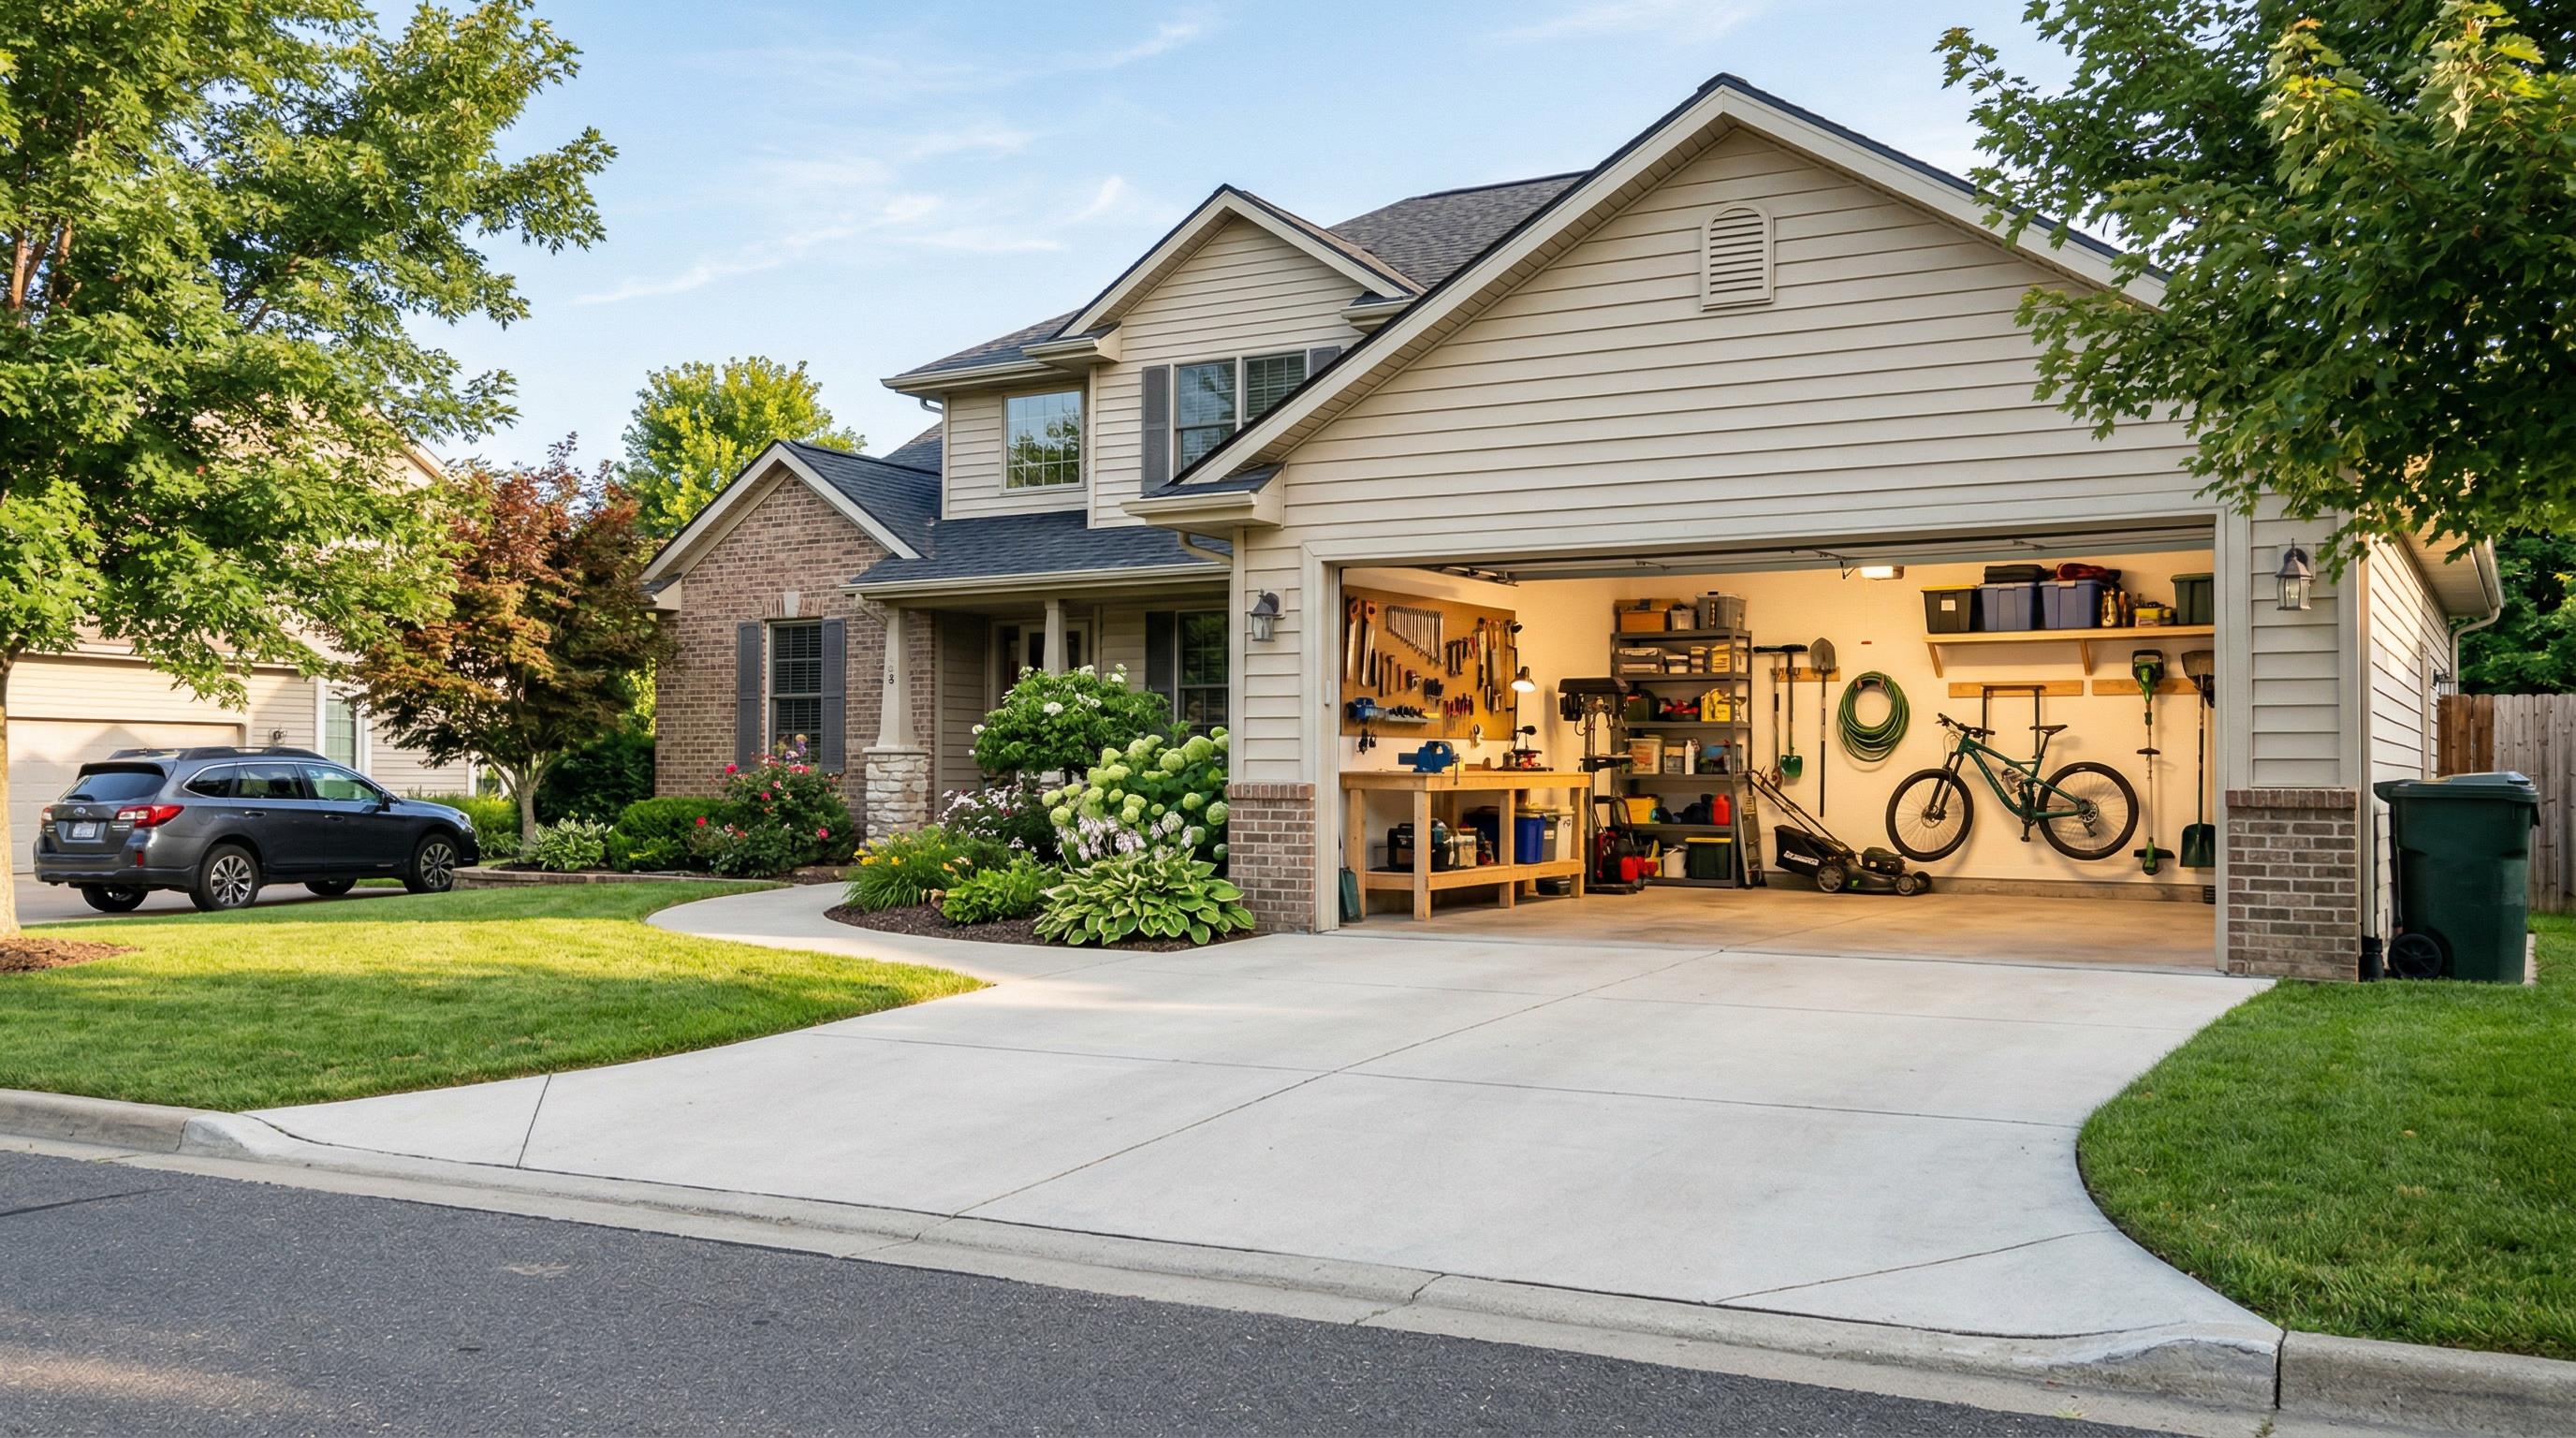
Your garage door is the largest moving component in your home, cycling up and down more than a thousand times per year in a typical household. Despite the workload it handles, most homeowners never give it a second thought until something goes wrong — and by then, the repair bill can be substantial. The reality is that routine maintenance prevents an estimated eighty percent of common garage door failures. A stuck door, a snapped cable, a noisy opener, or a door that refuses to seal properly at the bottom can almost always be traced back to a maintenance step that was missed or postponed. The good news is that most of these tasks are simple, require no special tools, and can be completed in thirty minutes or less. In this guide, we will walk you through ten specific maintenance tasks any homeowner can perform today to keep their garage door running smoothly, quietly, and safely for years to come.
Whether your garage door is brand new or decades old, these ten tasks apply universally. We have divided them into two groups: the first five focus on visual inspection and cleaning, while the second five cover lubrication and critical safety checks. By incorporating these steps into a twice-yearly routine — ideally in the spring and fall — you will dramatically extend the lifespan of your door and its components while avoiding the inconvenience and expense of emergency repairs. Let us get started.
Tasks 1-5: Visual Inspection and Cleaning
The first half of your maintenance routine focuses on looking, listening, and tightening. These tasks do not require any lubricants or replacement parts — just your eyes, your ears, a socket wrench or adjustable wrench, and about fifteen minutes of your time. The goal is to catch small problems before they snowball into expensive repairs. A loose bracket today becomes a misaligned track next month. A worn roller you spot during inspection is far cheaper to replace proactively than to deal with after it seizes and damages the track.
Start your maintenance routine with these five inspection and cleaning tasks:
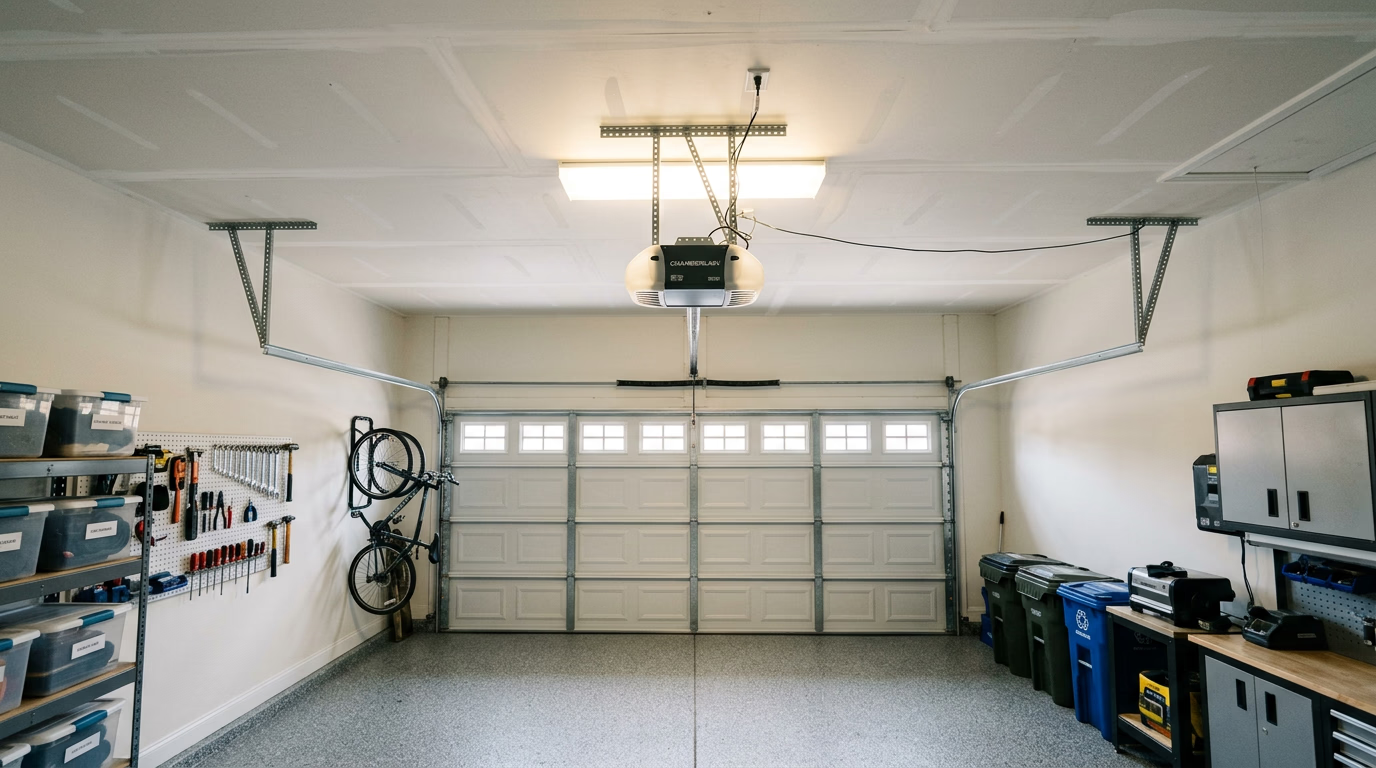
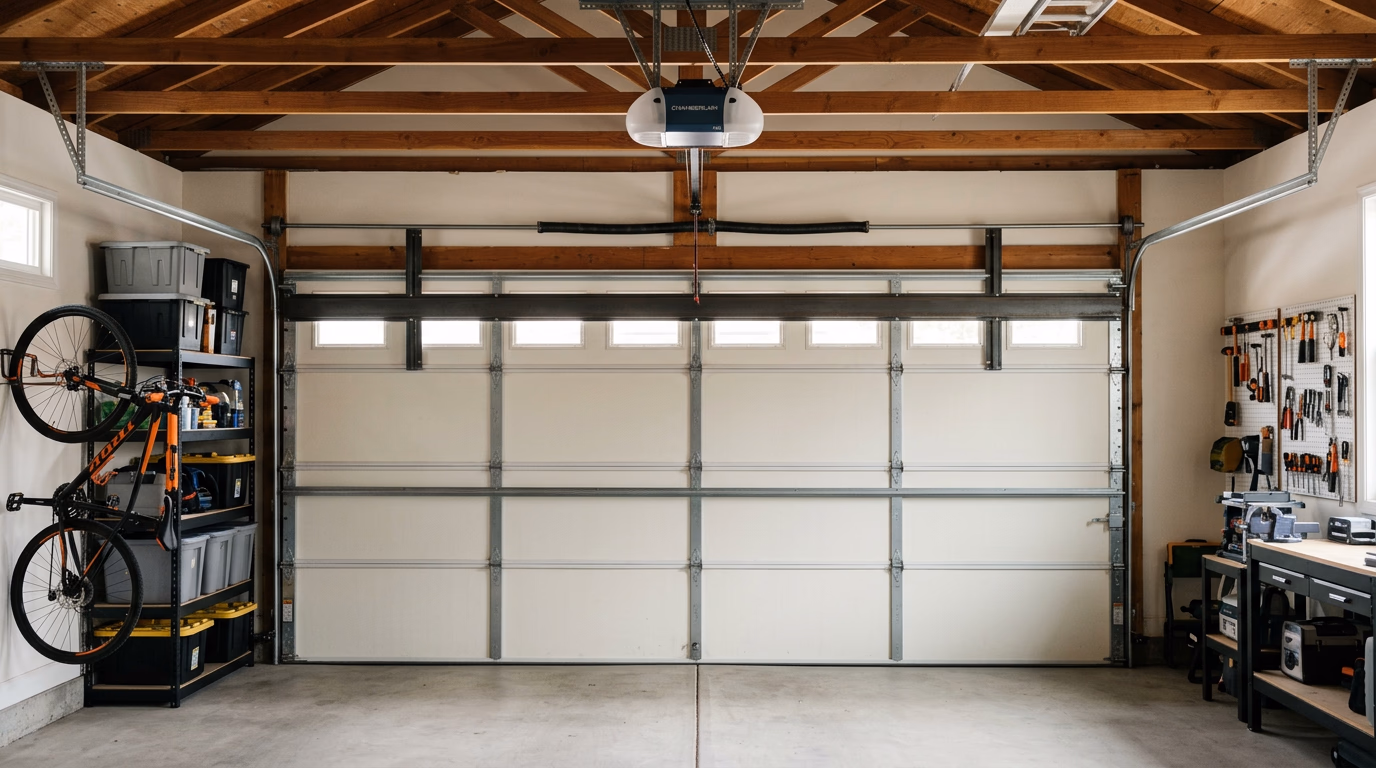
- Task 1 — Complete Visual Inspection: With the door closed, stand inside the garage and carefully examine every visible component: the springs, cables, rollers, pulleys, hinges, tracks, and mounting hardware. Look for signs of rust, fraying, wear, or anything that appears bent, cracked, or out of place. Do not touch the springs or cables — just observe. Note anything that looks unusual so you can address it or report it to a technician.
- Task 2 — Clean the Tracks: Use a damp cloth or a can of brake cleaner to wipe down the inside of both vertical tracks. Remove any built-up grease, dirt, cobwebs, or debris that could interfere with smooth roller movement. Contrary to popular belief, you should not lubricate the tracks themselves — doing so can actually cause the rollers to slide rather than roll, leading to uneven wear and noisy operation.
- Task 3 — Tighten Loose Hardware: The constant vibration of a garage door cycling up and down gradually loosens bolts, nuts, and screws throughout the system. Using a socket wrench or adjustable wrench, check and tighten all the bolts on the roller brackets, the hinges, and the rail mounting brackets for the opener. Be thorough but do not overtighten — snug is sufficient.
- Task 4 — Test the Door Balance: Disconnect the automatic opener by pulling the emergency release handle, usually a red cord hanging from the rail. Manually lift the door to about the halfway point and let go. A properly balanced door will stay in place, hovering roughly at the midpoint. If it falls or rises, the counterbalance springs may need adjustment — a task that should be handled by a professional due to the high tension involved.
- Task 5 — Inspect the Rollers: Examine each roller on both sides of the door. Nylon rollers should be checked for cracks, chips, or flat spots. Steel rollers should be checked for worn bearings or signs of seizing. Rollers typically need replacement every five to seven years depending on usage, and in most cases, replacing them yourself is straightforward — simply remove the hinge bracket that holds the roller, swap in the new one, and reattach. However, never remove the bottom roller brackets, as they are connected to the high-tension cable system.
“Family Handyman recommends performing a comprehensive garage door tune-up at least once a year, noting that tightening hardware, inspecting rollers, and testing door balance are among the most impactful maintenance steps a homeowner can take to prevent costly breakdowns and ensure safe operation.”
Tasks 6-10: Lubrication and Safety Checks
With the visual inspection and cleaning complete, the second half of your maintenance routine shifts to lubrication and safety testing. These tasks are equally important and take roughly another fifteen minutes. Proper lubrication reduces friction, minimizes wear, and keeps your door operating quietly. The safety checks verify that the critical protective features built into your garage door system are functioning as intended — features designed to prevent serious injury to your family and pets.
Complete your maintenance routine with these five lubrication and safety tasks:
- Task 6 — Lubricate Moving Parts: Apply a silicone-based spray lubricant or white lithium grease to all the hinges, rollers (if they have bearings), and the spring system. For torsion springs, apply lubricant along the length of each coil. For the opener's drive mechanism, lubricate the chain or screw drive according to your owner's manual. Avoid using WD-40 as your primary lubricant — while it is an excellent cleaner and penetrant, it dries out quickly and does not provide lasting lubrication.
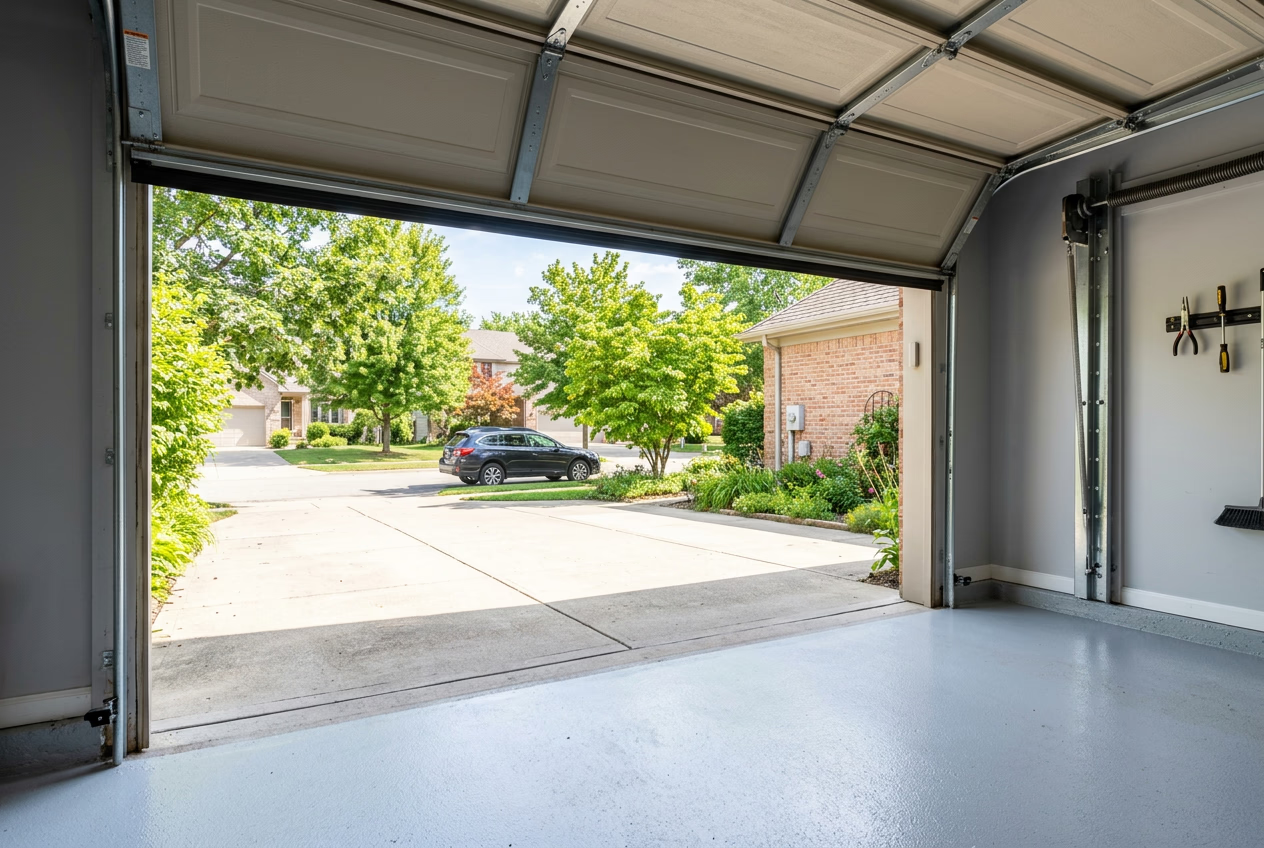
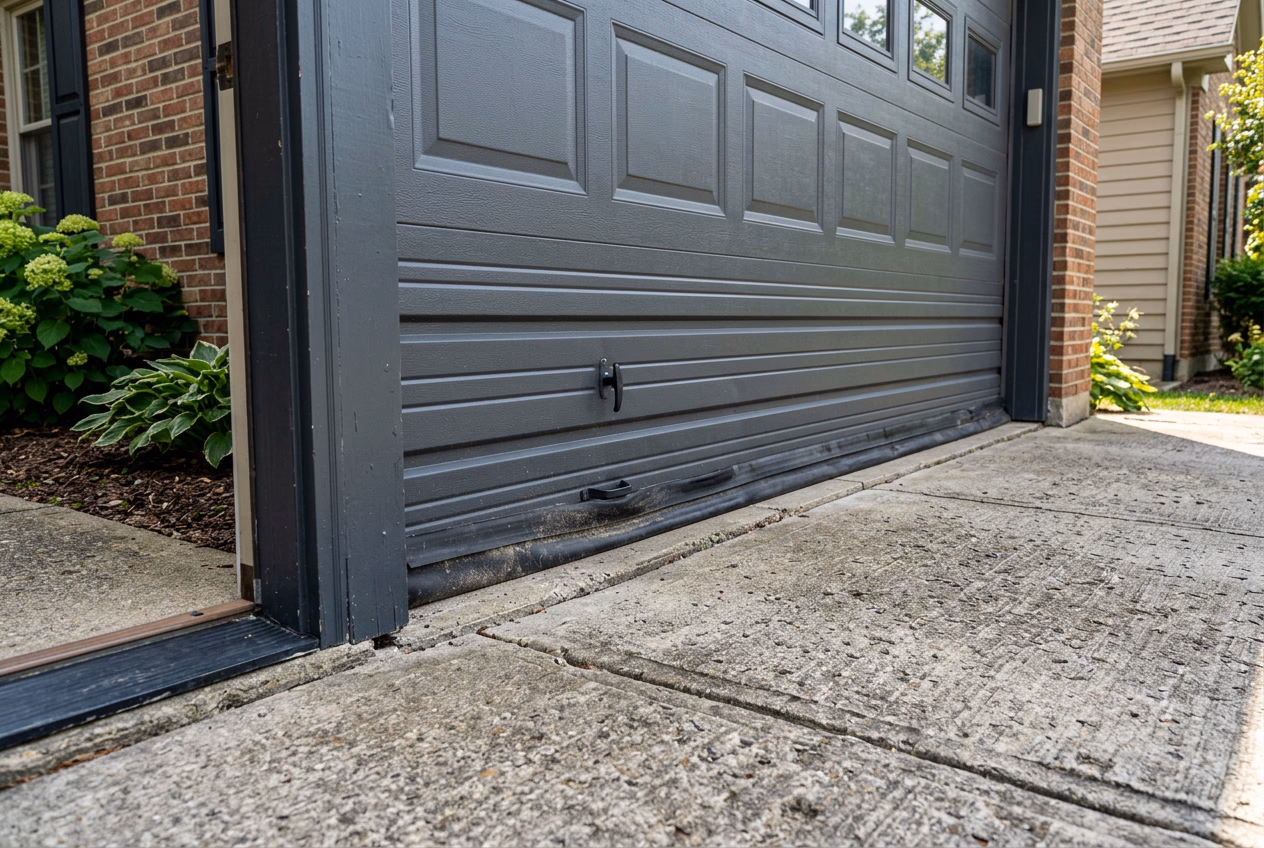
- Task 7 — Check and Replace Weatherstripping: Inspect the rubber weatherstripping along the bottom of the door and the seals along the sides and top. Look for cracks, gaps, brittleness, or sections that have pulled away from the door. Damaged weatherstripping allows drafts, rain, insects, and debris into your garage. Replacement weatherstripping is inexpensive and widely available at hardware stores — most styles simply slide into a retaining channel along the bottom edge of the door.
- Task 8 — Test the Auto-Reverse Mechanism: Place a two-by-four board flat on the ground in the path of the door and press the close button. When the door contacts the board, it should immediately stop and reverse direction. If the door does not reverse, the force settings on your opener need adjustment — consult your owner's manual for instructions. This feature is federally mandated on all openers manufactured after 1993 and is critical for preventing crush injuries.
- Task 9 — Test the Photo-Eye Sensors: The photo-eye sensors are the small devices mounted on each side of the door near the floor, connected by an invisible infrared beam. With the door open, press the close button and then wave an object — such as a broom handle — through the sensor beam as the door is closing. The door should stop and reverse immediately. If it does not, check that the sensors are properly aligned, that their lenses are clean, and that the indicator lights are lit. Misaligned or dirty sensors are one of the most common causes of garage doors that refuse to close.
- Task 10 — Visually Inspect the Cables: Look at the lift cables that run from the bottom brackets of the door up to the spring system. Check for fraying, rust, kinks, or any strands that appear broken or separated. Do not touch the cables under any circumstances — they are under extreme tension and can cause serious injury if they snap or release unexpectedly. If you notice any damage or wear, contact a professional immediately for replacement.
“Bob Vila recommends using a silicone-based lubricant or white lithium grease on garage door hinges, rollers, springs, and bearing plates at least twice per year. The guide emphasizes that proper lubrication reduces noise, prevents premature wear on metal components, and contributes to smoother, more reliable door operation over time.”
Local South Jersey Experts
Need Help With Your Garage Door?
Our local South Jersey technicians are ready to help — same-day service available. Don't wait for a small problem to become a big one.
What NOT to DIY: Leave These to the Pros
While the ten tasks above are perfectly safe for any homeowner, there are certain garage door repairs that should never be attempted as a do-it-yourself project. The garage door system contains components under extreme mechanical tension, and working on these parts without proper training, tools, and safety equipment can result in catastrophic injury or even death. Every year, emergency rooms across the country treat thousands of injuries caused by homeowners attempting garage door repairs that should have been left to licensed professionals. Understanding where to draw the line between DIY maintenance and professional service is one of the most important things you can learn as a homeowner.
A clear breakdown of garage door tasks that should only be performed by trained professionals, explaining why each task is dangerous and what can go wrong if attempted by an untrained homeowner.
Swipe to see more →
| Task | Why It's Dangerous | What Can Go Wrong |
|---|---|---|
| Torsion Spring Replacement | Torsion springs store massive amounts of rotational energy — enough to lift a 300+ pound door. Releasing or adjusting this tension without specialized winding bars and training is extremely hazardous. | The spring can unwind violently, causing the winding bar to strike you or sending metal fragments across the garage. Broken bones, lacerations, and fatalities have been documented. |
| Cable Replacement | Lift cables are under hundreds of pounds of tension, held taut by the spring system. If a cable is disconnected improperly, the stored energy can release unpredictably. | A snapping cable can whip with enough force to cause deep lacerations or eye injuries. The door may also drop suddenly, crushing anything beneath it. |
| Track Realignment | Tracks must be precisely aligned and securely anchored to support the full weight of the door. Improper realignment can cause the door to bind, jump the track, or fall. | A door that leaves its tracks can crash to the ground without warning, causing property damage and serious injury. Misaligned tracks also strain the opener and springs, leading to cascading failures. |
| Opener Electrical Wiring | Garage door openers are hardwired to your home's electrical system. Working on wiring without proper knowledge creates fire and electrocution risks. | Incorrect wiring can cause electrical shorts, blown circuits, or fire. Improper grounding can also make the entire door frame and hardware electrically live, creating a hidden shock hazard. |
The bottom line is simple: if a task involves the springs, the cables, the track structure, or electrical wiring, call a professional. No amount of money saved is worth the risk of a life-altering injury. A qualified garage door technician has the training, the specialized tools, and the insurance to handle these high-risk repairs safely and correctly. When in doubt, err on the side of caution and pick up the phone.
Schedule Your Professional Tune-Up
Performing the ten DIY maintenance tasks outlined in this guide will go a long way toward keeping your garage door reliable, quiet, and safe. But even the most diligent homeowner benefits from an annual professional tune-up. A trained technician can spot hidden issues that are not visible to the untrained eye — things like micro-fractures in spring coils, early signs of cable fatigue, bearing wear inside sealed rollers, and subtle opener malfunctions that could lead to bigger problems down the road. Professional maintenance also includes precise adjustments to spring tension, opener force settings, and travel limits that require specialized equipment and calibration tools most homeowners simply do not have. Atlantic County Garage Doors offers comprehensive maintenance plans designed to complement your own efforts and ensure every component of your door system is in optimal condition.
Our maintenance plans are affordable, hassle-free, and tailored to the needs of South Jersey homeowners. We serve Egg Harbor Township, Galloway, Hammonton, Absecon, Pleasantville, Somers Point, and all surrounding communities throughout Atlantic County. When you sign up for a maintenance plan, one of our experienced technicians will visit your home on a schedule that works for you, perform a complete multi-point inspection and tune-up, and provide a detailed report of their findings along with recommendations for any needed repairs. It is the easiest way to protect your investment and avoid unexpected breakdowns. Ready to give your garage door the professional care it deserves? Call Atlantic County Garage Doors today at 609-663-9260 to schedule your tune-up or learn more about our maintenance plans. Your garage door works hard for you every day — let us help you return the favor.